How to Install Your Nanit Baby Monitor
Jump to Section
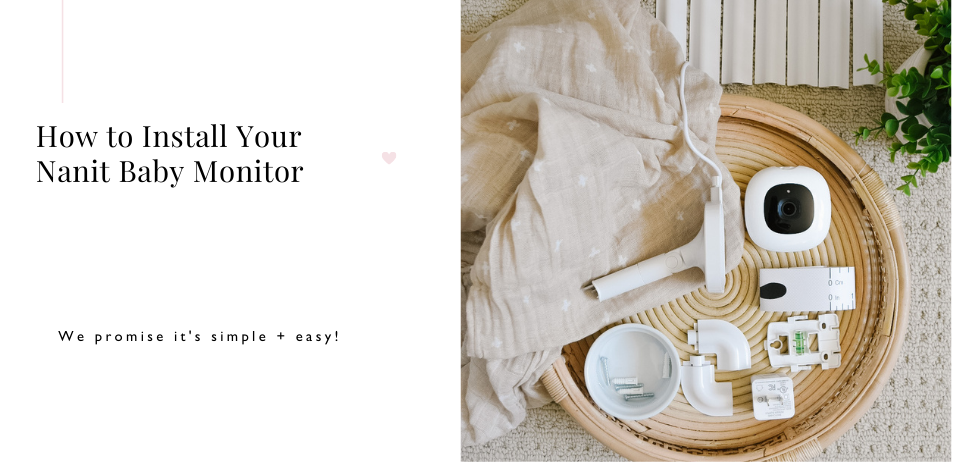
It’s time to unbox the great gifts, gear, and gadgets that you were given at your baby shower, how fun! So, along with washing all those adorable baby outfits and soft swaddles we suggest adding “install the baby monitor” to your growing to-do list.
Today we are digging in on how to install your Nanit Pro Complete Baby Monitor. The Nanit is full of the most recent tech like crystal-clear HD video and a birds' eye-view over baby’s crib, but don’t get nervous because we promise that the installation is simple — we love that for you.
How easy is easy? The install is as foolproof as it gets with the included disposable measuring tape and internal level found in the stand to ensure you’ve got everything looking straight before you drill any holes.
Install Overview + Quick Tips
We always suggest reading your manual but before you start making holes in the nursery, please make sure you remember these few things:
- Your monitor must be mounted 6ft [168 centimeters] above the crib
- Position your Nanit on the long side of your crib
- Don’t forget to download the Nanit app [nanit.com/app] before you begin.
Step 1- Unbox your Nanit
Step 2- Plug your camera in
Step 3- Pair your camera
Step 4- Disconnect your Nanit and begin working on the installation
Once you've done these 4 things you can disconnect your Nanit and begin the install process. Now it’s time to grab your drill [insert the Tim “the toolman” Taylor grunt here] and officially begin the install.
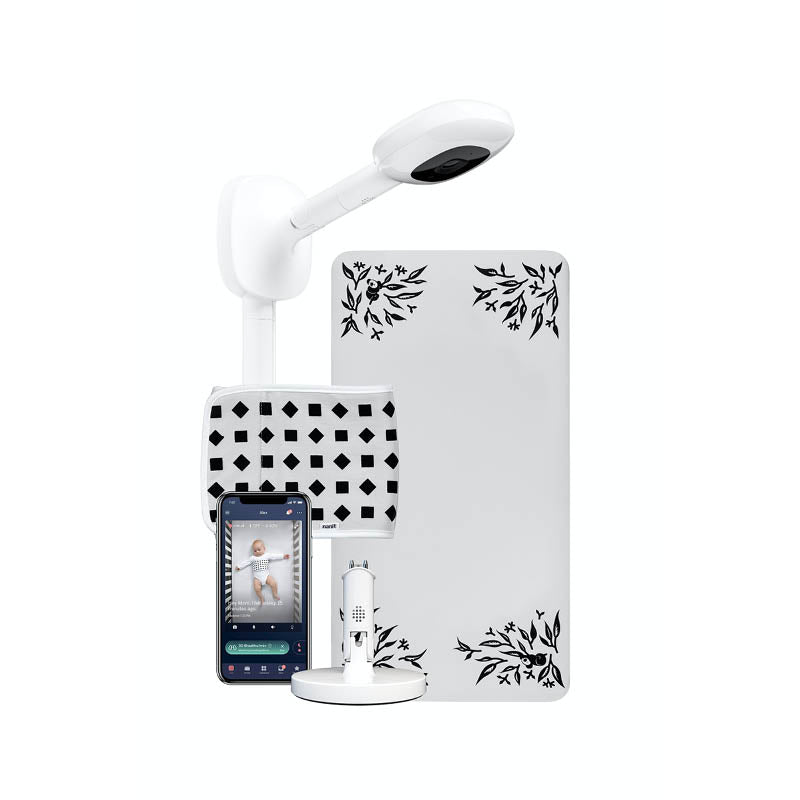
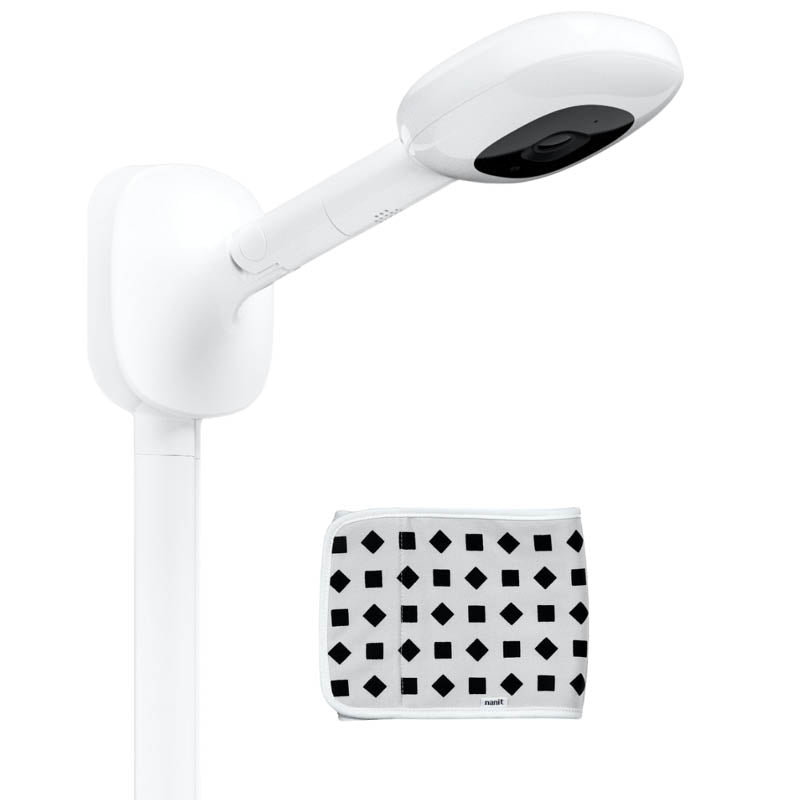
THE NANIT PRO BABY MONITOR
Sale
Bundle & Save!
Bundle & Save!

Bundle & Save!

Khaki SB Exclusive
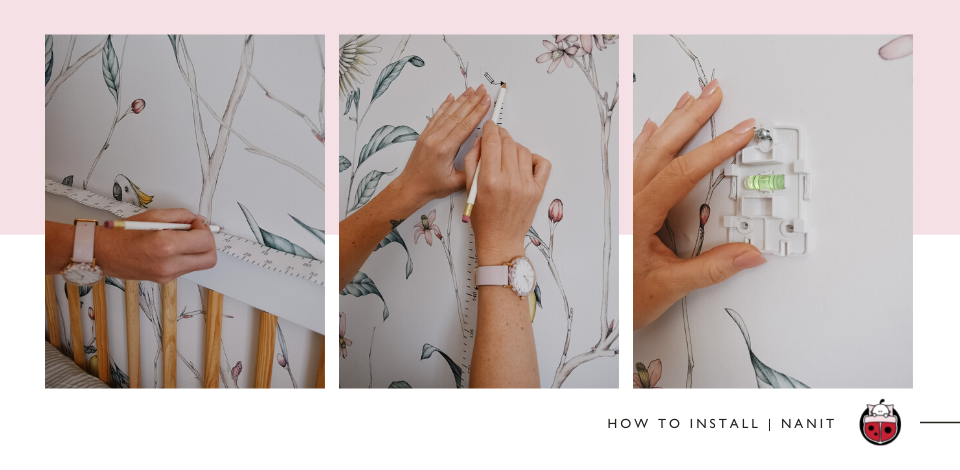
Drill & Measure
We love that Nanit has included everything you need for the install [sans drill] in the box. So. go ahead and grab the included measuring tape! Find the center of your crib then use the mounting template to mark the right height [6 feet above your crib to get the most out of the AI features] and drill a hole at that pencil mark.
Insert the wall anchor into the hole and put in the screw. For those who are scratching their heads — the wall anchor is the blue thingy #yourewelcome.
PRO TIP — keep all these little pieces somewhere safe because dogs and toddlers are known to run off with little pieces mid-installation — we say this from personal experience.
Now, don't screw things in tightly just yet, you’ll want to leave a little bit of wiggle room. Next, you’ll need to level your mounting bracket and mark the bottom anchor holes. Remove the bracket and repeat by drilling the last two holes and insert the blue wall anchors just like you did previously. Once you’ve re-attached the wall bracket it’s time to tighten up those screws!
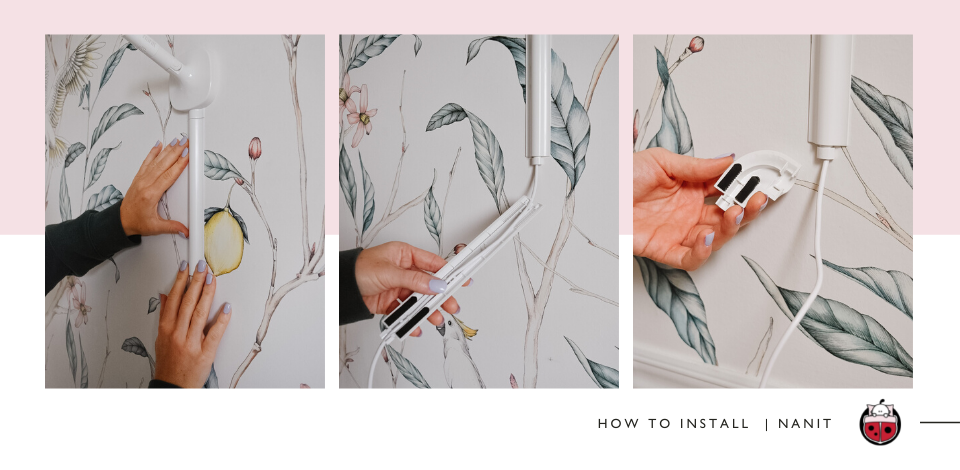
The Wall Mount
Let’s talk about how cool the wall mount is — temperature and humidity sensor used to track and report are located in the stand. So, go ahead and attach your wall mount to the mounting bracket that you just installed.
How do you do it? Press the wall mount flush against the wall — then push down until you hear an audible CLICK.
Now you should be good to go!
Hide Those Wires
Now it's time to install your cable covers AKA hide those wires! Again, these are easy to use and are included in the box. Simply peel off
the red adhesive strips on the back of each cover, ensure the cable is tucked into the groves of the cover, then press firmly on the wall to install. REPEAT.
Then you'll need to choose an elbow joint [both a left and a right are included], so go for the direction that brings you closest to the outlet in the room. Next, attach the horizontal cable covers until you reach your outlet and attach the end cap.
Lights Camera Action
Almost done!
Reconnect your Nanit to the wall mount and plug the cord back into the wall to power up because now it’s time to see how this thing works! It goes without saying, but be sure to download the Nanit app as mentioned above so that you can make sure you’ve got the perfect view of the crib and your baby.
Go ahead and familiarize yourself with the menu — you'll see how you can easily monitor your baby’s breathing and receive sound and motion alerts once your little one is here.
Looking for a bit more information on how the camera works? Check out our full Nanit Pro Complete Product Review HERE.
Suited for All Situations
If you LOVE the Nanit but just aren't interested in securing your monitor to the wall — not a problem. Perhaps the floor stand option would be best for your family as it can be used free-standing or can be fastened to the wall, making this a great choice for renters.
The wallpaper is from Anewall, a fantastic Canadian company. You can check out more of their cute and modern nursery aesthetics from our Designing Your Dream Nursery article.